 If you’ve never tried homemade almond milk, you’re missing out. Its rich, creamy and delicious and tastes nothing like the store bought milk! Unfortunately, most store bought almond milk is made with only 2-3 actual almonds and the rest fillers, like gar gum, careenage, lecithin and water. All of these fillers can cause havoc on a sensitive digestive tract. The good news is, DIY almond milk is easy to make and only requires a nut bag. The hardest part is asking the store associate where you can find a “nut bag”. If you want to save yourself the embarrassment you can order one on amazon here.
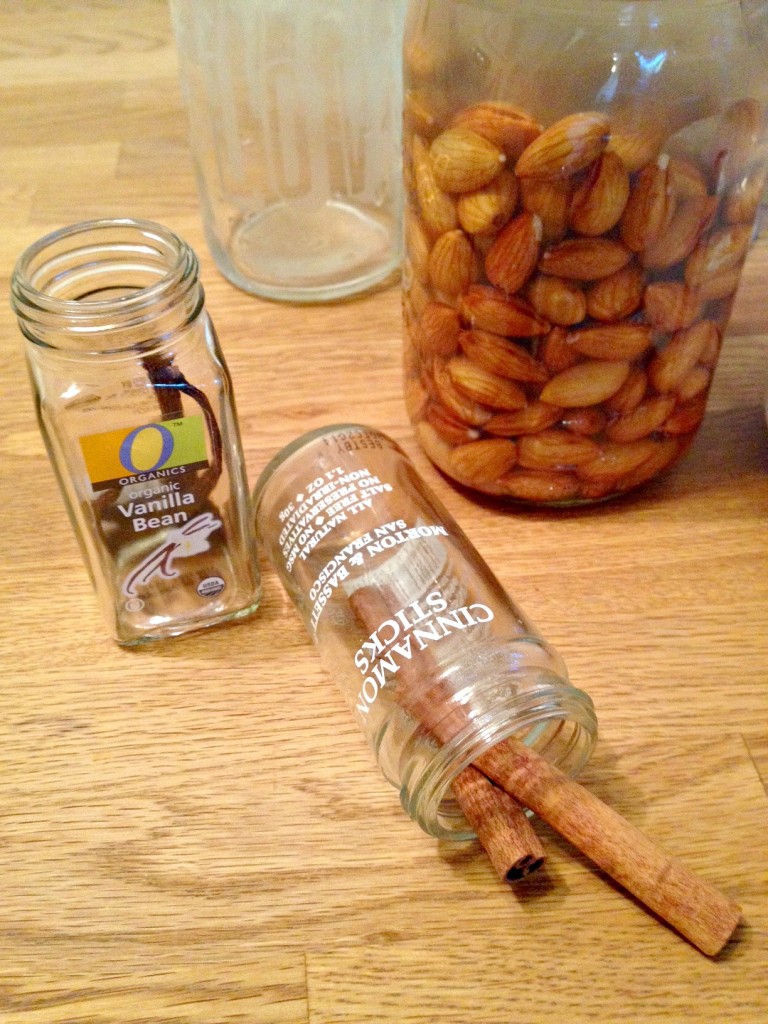
Here’s the step-by-step instructions on how to make your own. Start with 1 cup of almonds and soak them for 8 to 10 hours. This breaks down the Phytic acid in the skin of the almond and softens them. Phytic acid is considered an anti-nutrient because of it’s affinity to bind to essential minerals such as calcium, zinc, iron, and magnesium, in the digestive tract. This interferes with minerals from being absorbed properly by your GI tract. Over time, this can cause mineral deficiencies and digestive imbalances especially for individuals with sensitive digestive tracts. Soaking them minimizes the Phytic acids.
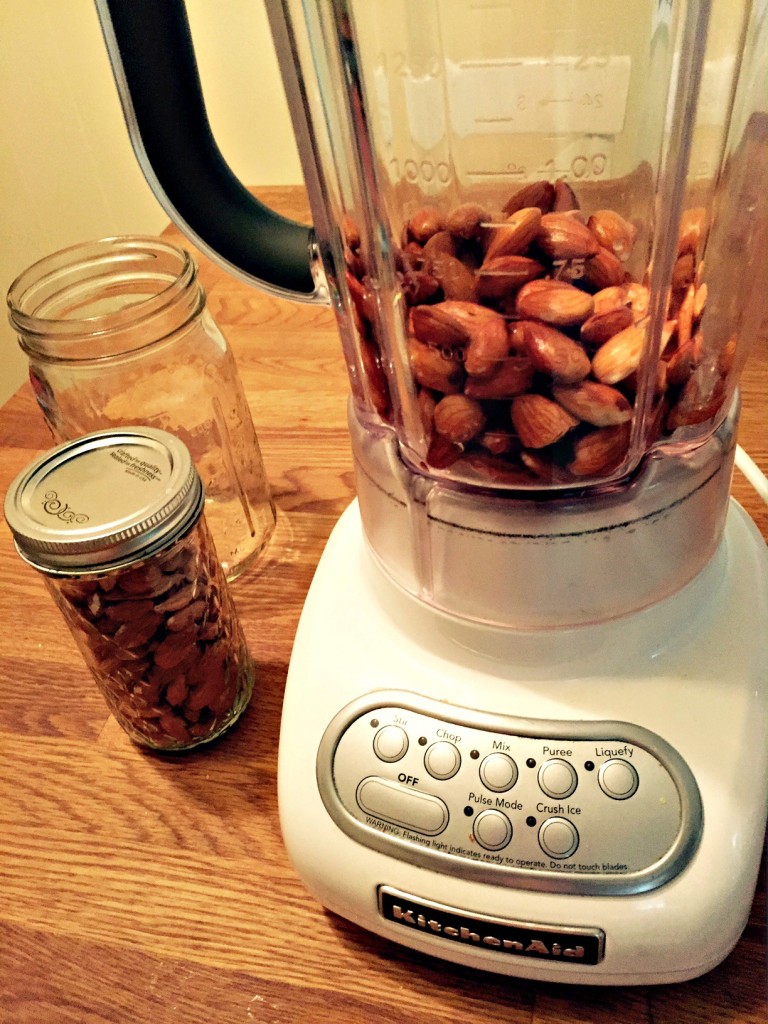
Once your almonds have been soaked. Rinse them thoroughly. Pour the almonds into a blender. Add 3 cups of water, cinnamon, 1 chopped vanilla bean and 2-3 Majool dates. Blend for 1-2 minutes until smooth.
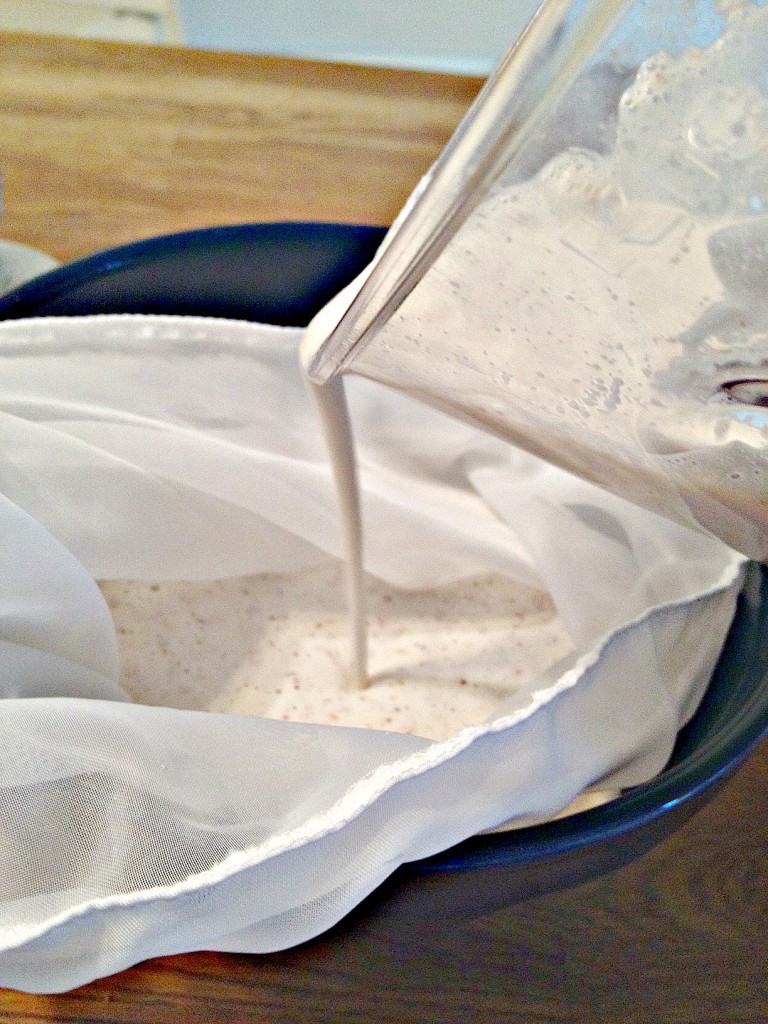
Place your nut bag over a large bowl and slowly pour in the milk. I only pour about 1/3 of the mixture into the nut bag at a time. Tends to make it more manageable to strain.
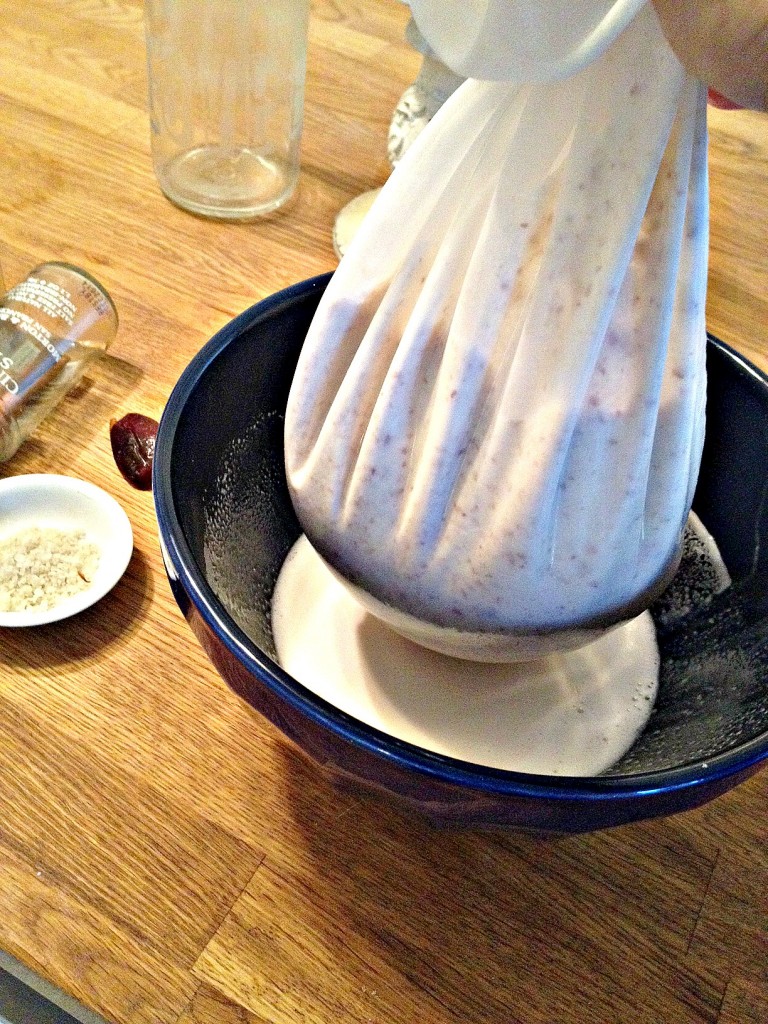
Some of the milk will filter right through the bag. But to get all of the milk out, you’ll need to do some gentle squeezing to encourage the milk through. I do this in small batches as it make it more manageable. I empty the pulp out each time and add another 1/3 of the almond milk mixture into the nut bag and repeat the process.
You can save the almond pulp for all kinds of things like homemade granola or you can even dehydrate it and then blend it up to make almond meal and it freezes too.
Before pouring it into a storage jar, I would rinse your blender and pour the milk from the bowl back into the blender. It makes it so much simpler to pour the milk from the blender into the jar rather than from a large bowl. I love mason jars to store my milk in.
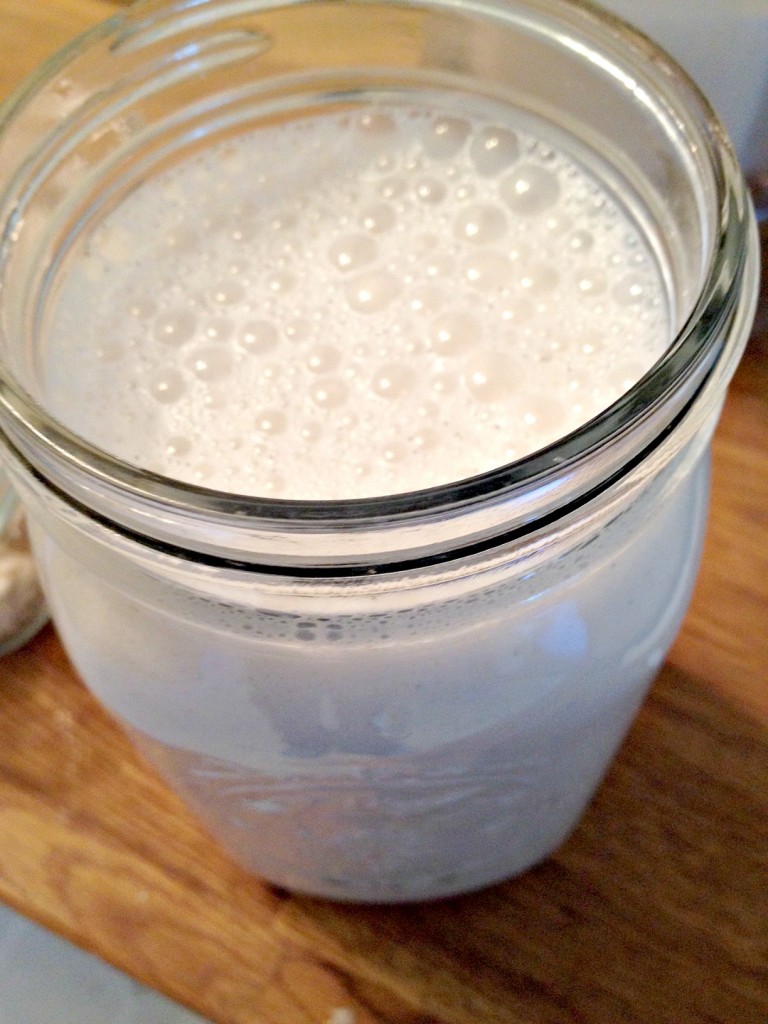
Look at this creamy delicious milk! It’s best when cold. Be patient, place it in the refrigerators and wait for this delicious treat! The wait will be worth it. Do note, that your milk will separate which is completely normal. Just shake or mix before serving.
Another delicious combination is berry flavored almond milk. Just add 1/5 cup frozen mixed berries to the recipe and viola.
If you want to skip the sugar, you can use stevia, coconut palm sugar or 1 tbsp. honey which actually has less sugar than the dates. 2 dates contain 27 grams of sugar.
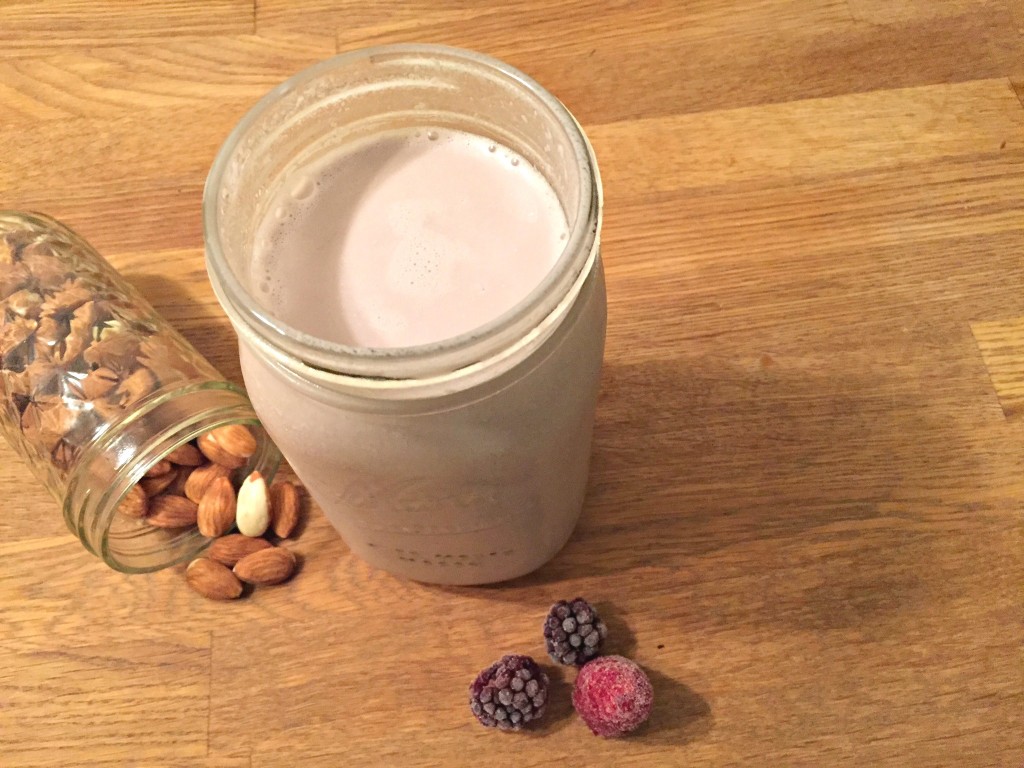
Rich and Creamy DIY Almond Milk- Easy step-by-step Instructions
Author: Keri Brooks Health
Recipe type: vegan, dairy free, gluten free, paleo, soy free
- 1 cup raw almonds, soaked 8-10 hours
- 3 cups filtered water
- 2-3 pitted Medjool dates (stevia or coconut sugar can be used too)
- 1 whole vanilla bean, chopped or ½ teaspoon vanilla extract
- ¼ tsp. cinnamon
- ¼ tsp. fine sea salt
- Place almonds in a jar and fill with water. Soak the almonds in water overnight, about 8 to 10 hours.
- Rinse and drain well.
- Place drained almonds into a blender along with the water, pitted dates, and chopped vanilla bean and cinnamon.
- Blend on the highest speed for 1-2 minute.
- Place a nut milk bag over a large bowl and slowly pour ⅓ of almond milk mixture into the bag. Gently squeeze the bottom of the bag to release the milk. Once you've squeezed the milk out. Empty out the pulp and repeat process until all the milk has been filtered.
- Rinse out blender and pour the milk back in.
- Taste and add additional cinnamon and sea salt to taste.
- Pour milk into a mason jar or storage container.
- Store in the fridge for up to 4 days.
- Milk will naturally separate.
- Shake the jar before seving.
3.4.3177


